GEM 230 Study Guide:
Advanced Plotting Standards
Mastering the 2D Mapping of 3D Clarity Characteristics
This study guide covers the strict GIA protocols for mapping clarity characteristics, dealing with different diamond shapes, and navigating the limitations of mounted stones. (Note: The standard GIA color and symbol key is assumed knowledge and omitted from this guide).
1. Selecting the Correct Plotting Diagram
A plotting diagram must accurately reflect the physical reality of the diamond being evaluated. You cannot plot a step-cut stone on a brilliant-cut diagram.
- Shape Consistency: The outline of the plotting diagram must match the outline of the diamond (e.g., Round, Oval, Emerald, Marquise).
- Facet Arrangement: The internal lines of the diagram must match the cutting style of the diamond (e.g., Brilliant cut vs. Step cut).
External Resource: For a comprehensive look at various faceting diagrams and cutting styles, refer to the US Faceters Guild Diagram Database.
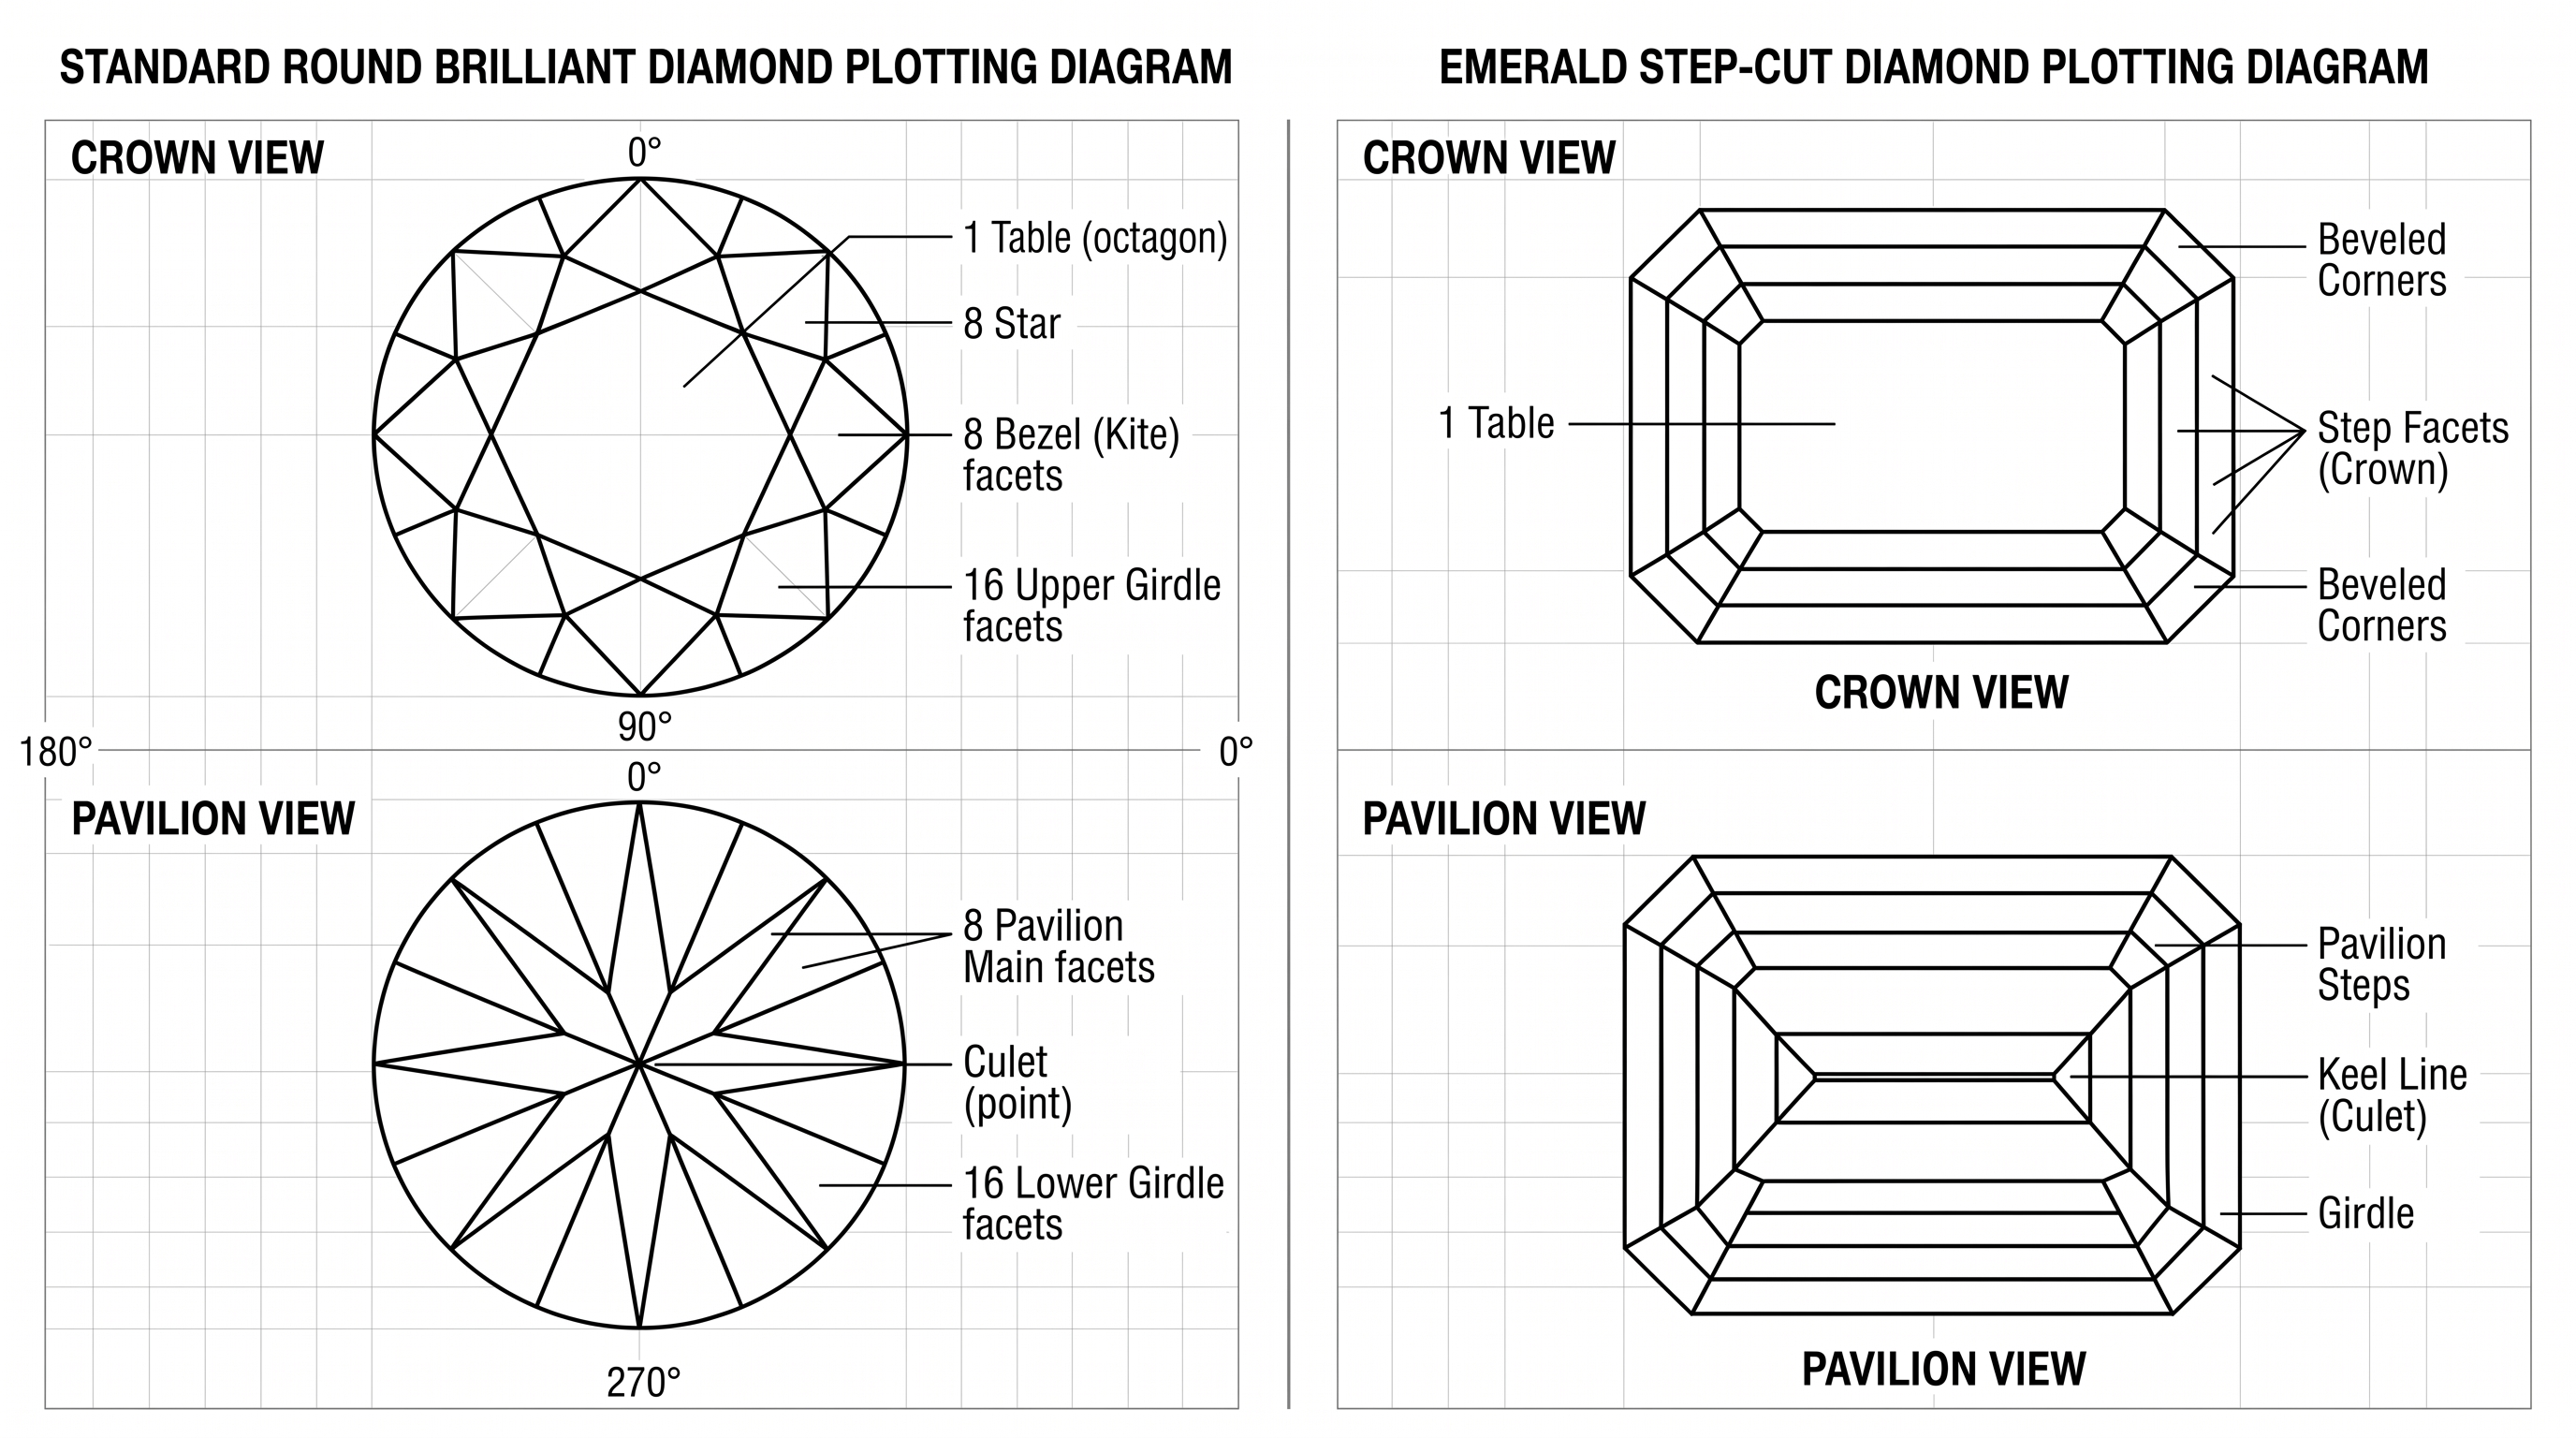
Highly Unusual or "Fantasy" Cuts
For proprietary cuts, freeform shapes, or highly modified antique cuts that do not match standard GIA templates:
- Select the closest standard shape template available.
- Modify the template by hand (drawing extra facets in black ink) to match the stone's physical facet arrangement.
- In extremely rare, completely non-standard cases, a gemologist may be forced to sketch the basic facet arrangement manually before plotting.
2. The Core Views: Crown and Pavilion Only
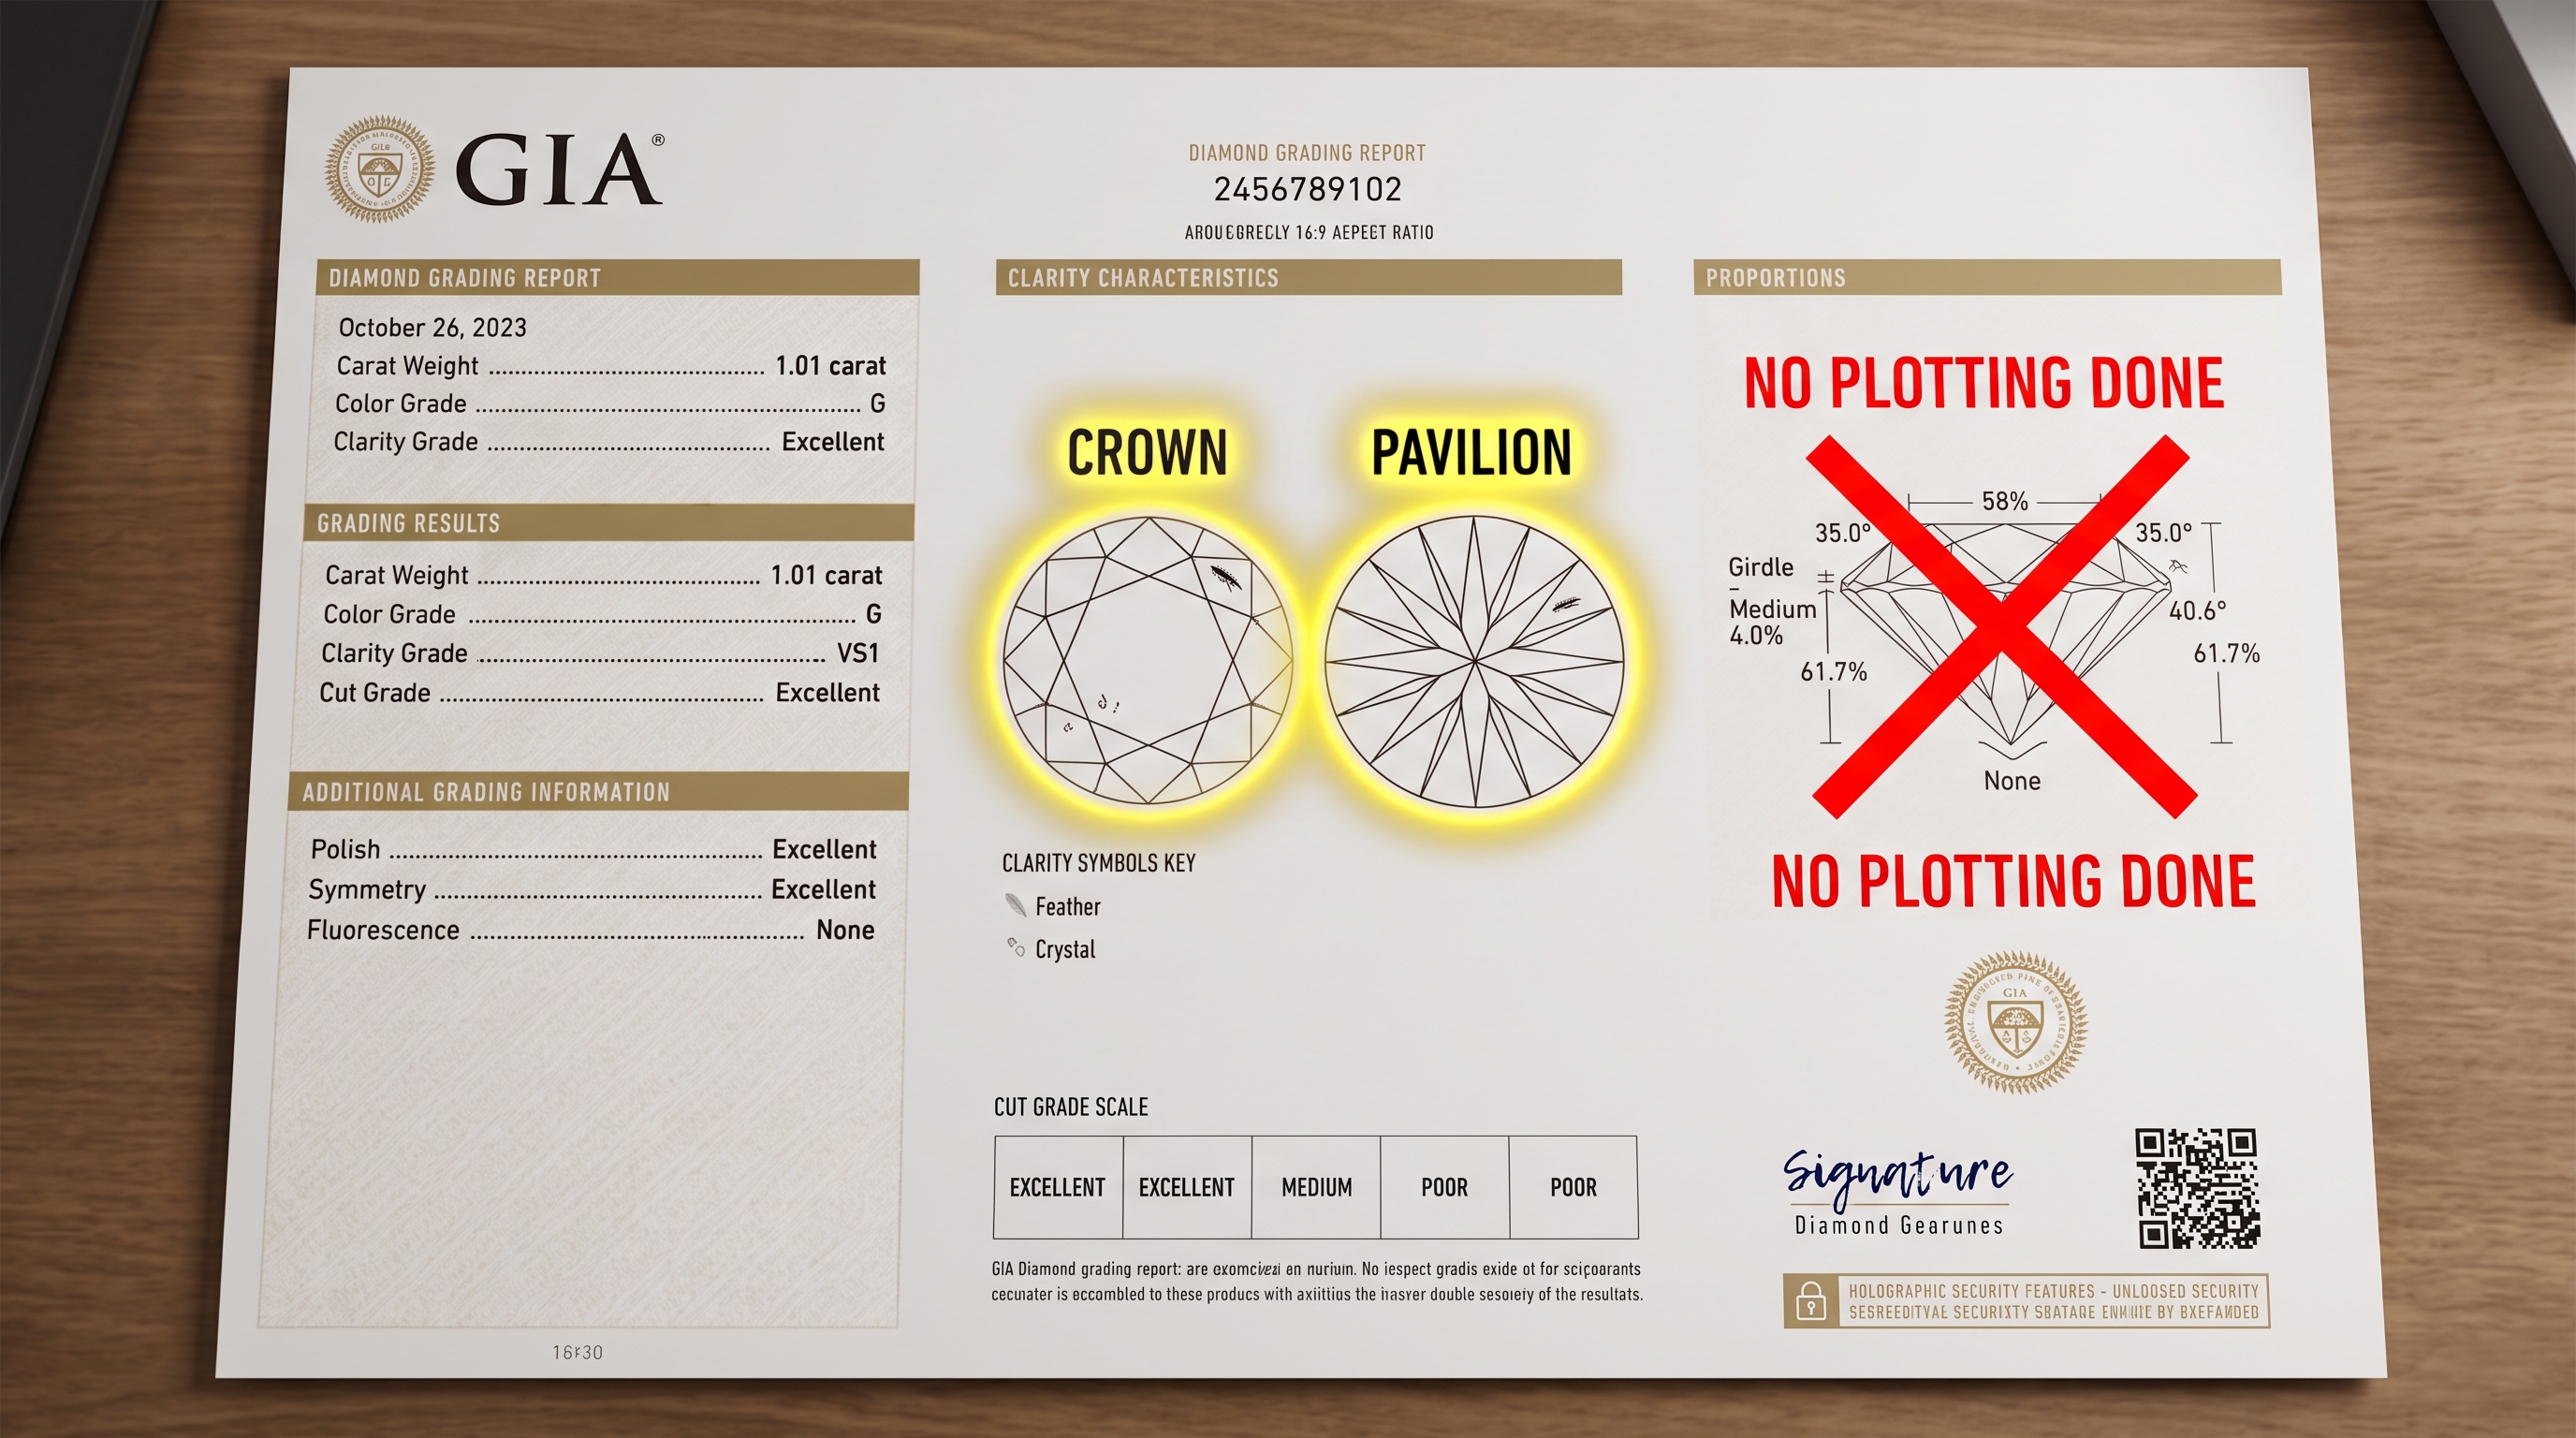
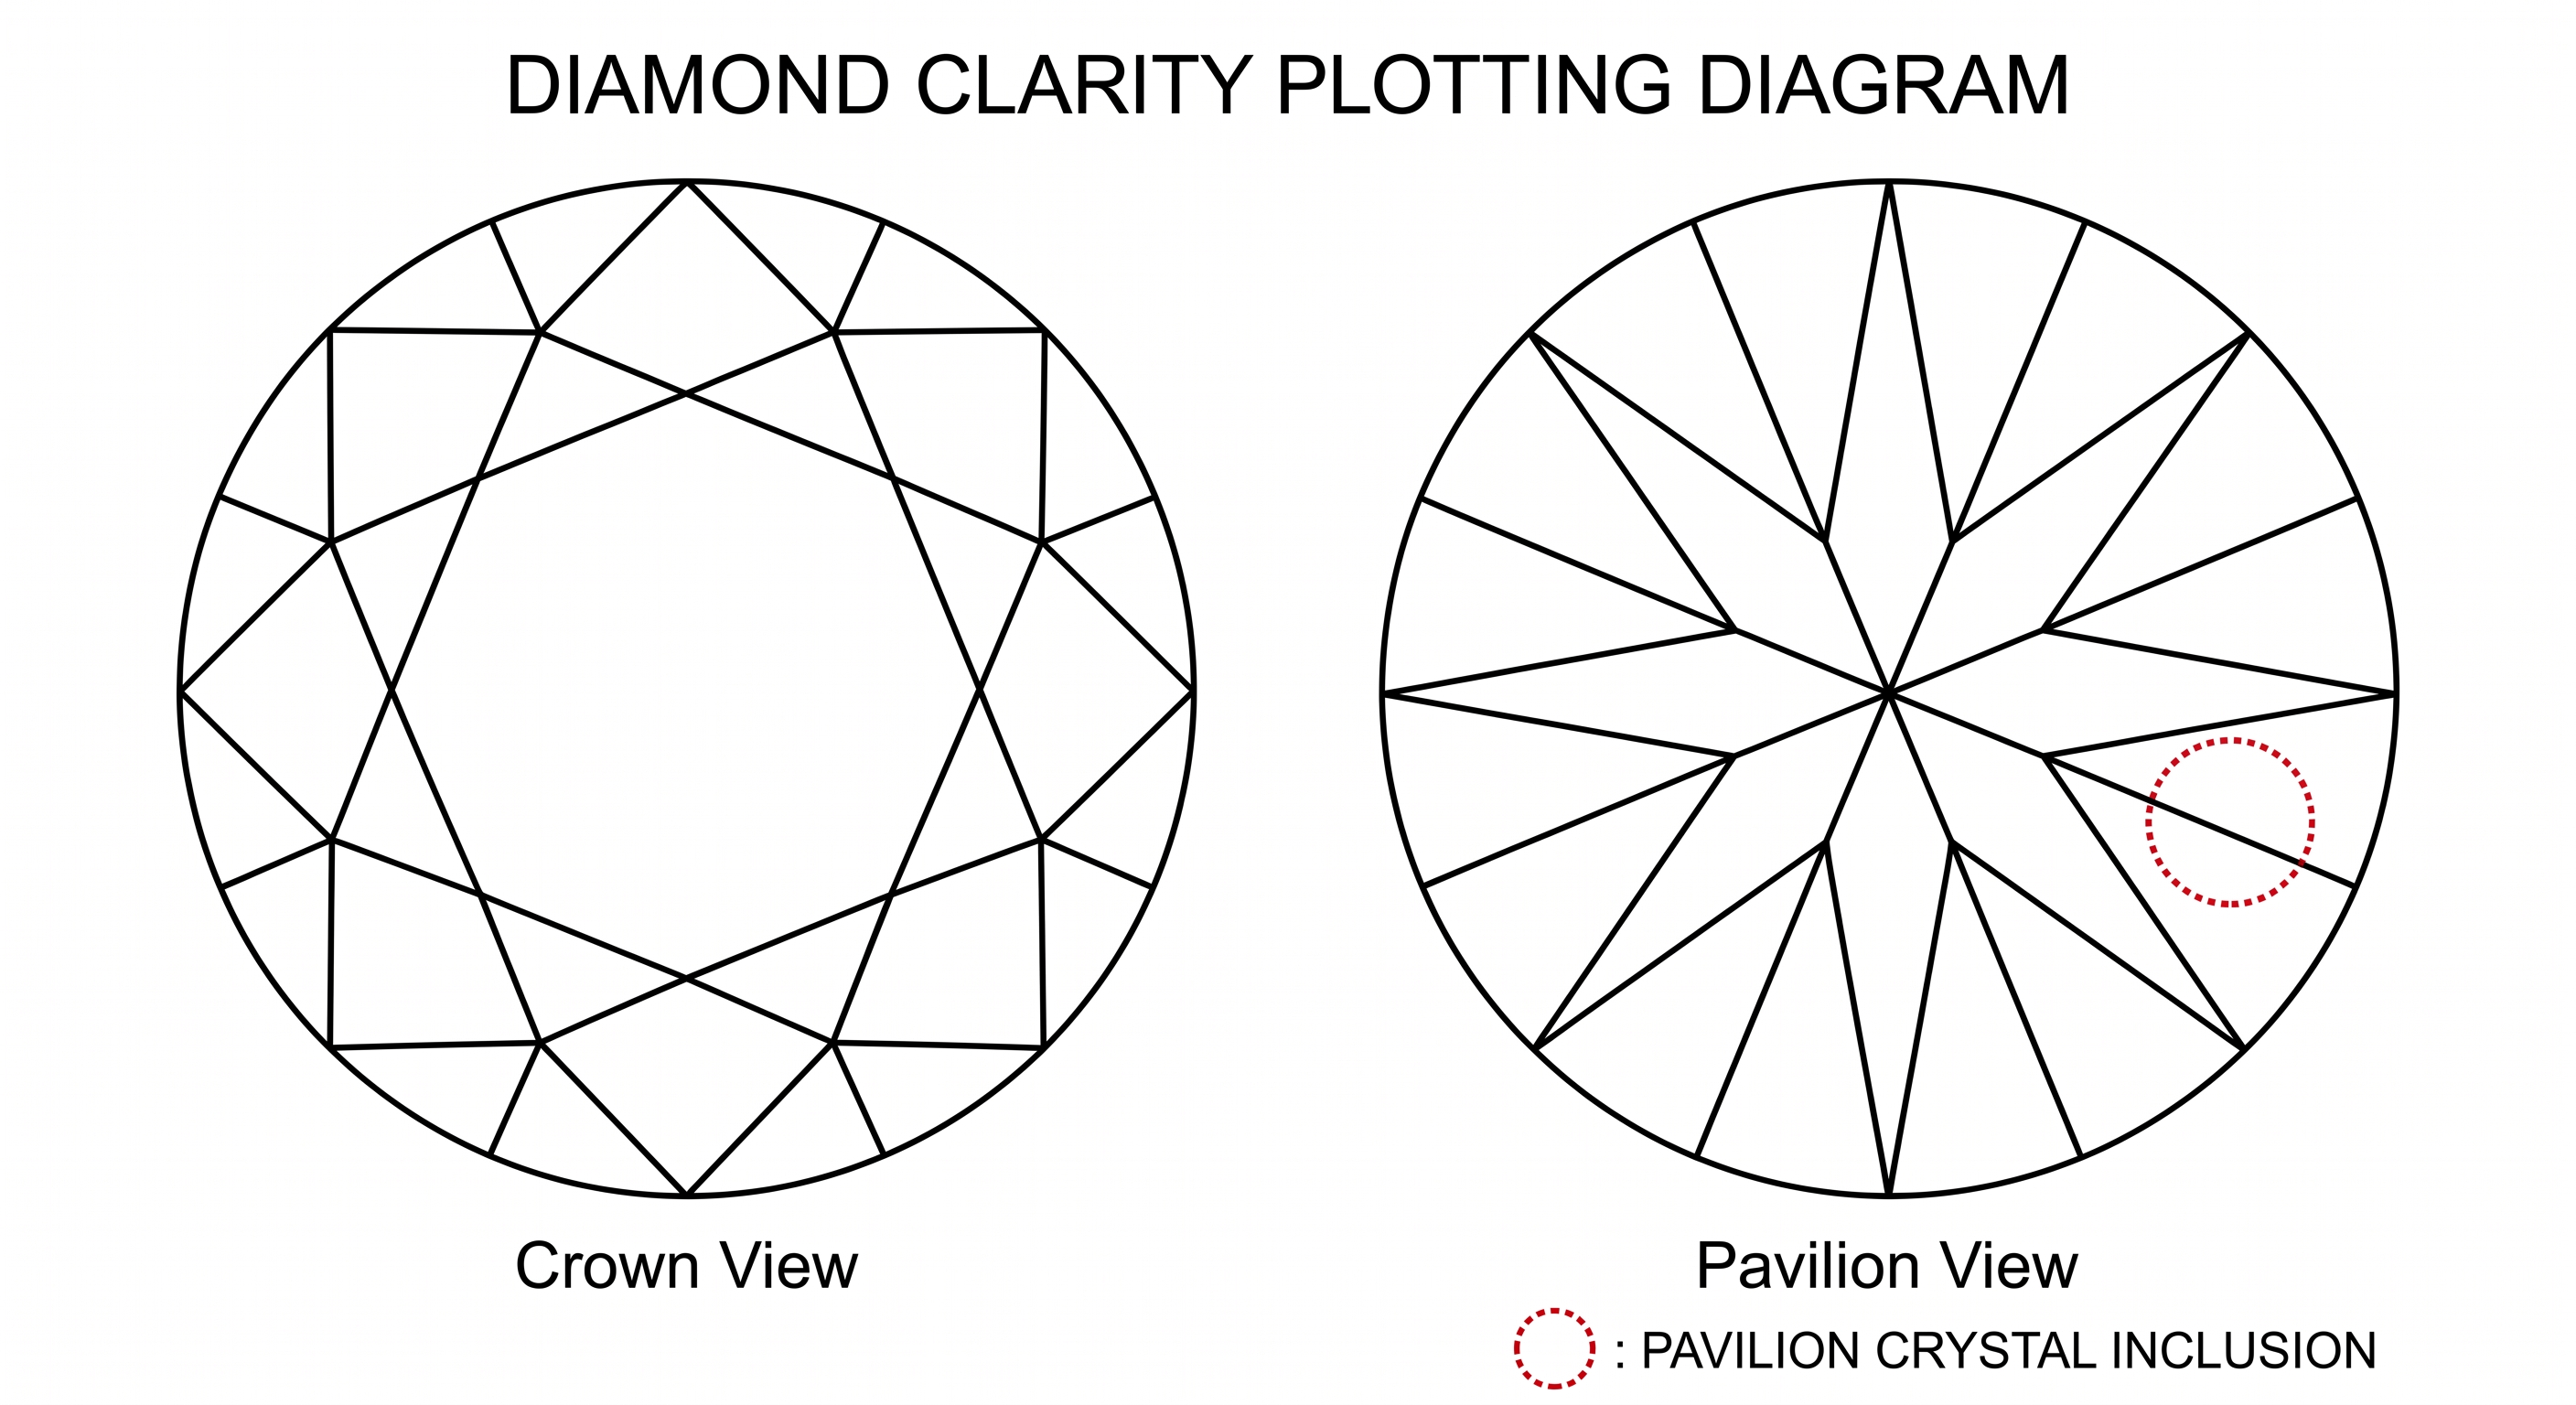
GIA protocols require that clarity characteristics be plotted exclusively on the crown and pavilion views.
- Crown View: Used to map characteristics visible from the top-down perspective.
- Pavilion View: Used to map characteristics visible from the bottom-up perspective.
- The Profile/Side View: You will often see a side-profile view on GIA reports. This is the Proportions Diagram. It is strictly used to map cut parameters (table %, depth %, angles). Never apply red or green ink to the profile view to plot clarity characteristics.
3. 2D Mapping Rules: Perspective and Depth
Because plotting diagrams are two-dimensional maps of three-dimensional stones, GIA relies on specific rules to imply depth and location without confusing the reader.
Rule A: Plot Where Most Visible (Internal Characteristics)
This rule applies to characteristics entirely enclosed within the diamond (like crystals, pinpoints, or internal clouds).
- Commit to one view: Plot the inclusion on the diagram (crown or pavilion) through which it is easiest to see and most prominent.
- The Crown Preference: Most internal characteristics are plotted on the crown diagram. Even if a crystal sits deep in the pavilion, if you have a clear, undistorted view of it through the table, plot it on the crown.
- Do not double-plot for depth: Never draw a fully internal inclusion on both the crown and pavilion just because you can see it from both sides.
Rule B: Plotting on Both Sides (Boundary Crossers)
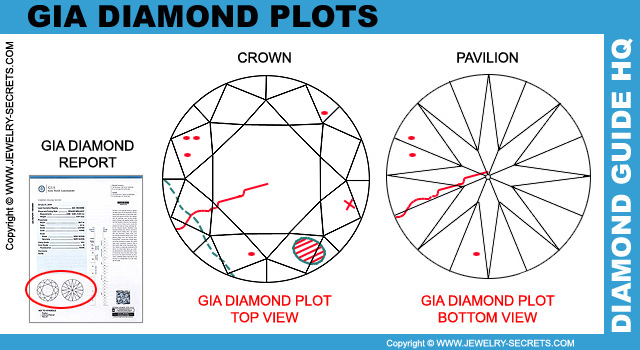
You only plot a characteristic on both diagrams if it physically spans across the girdle, existing in both halves of the stone. Examples include large feathers, cavities, or thick naturals that break the surface of both crown and pavilion facets.
- Alignment is Critical: If a stone is flipped from the crown view to the pavilion view, the left/right orientation reverses. A feather crossing the girdle at the 3 o'clock position on the crown must be plotted at the exactly corresponding 9 o'clock position on the pavilion. Misaligned plots are marked as incorrect under GIA testing.
4. The "No Reflections" Rule
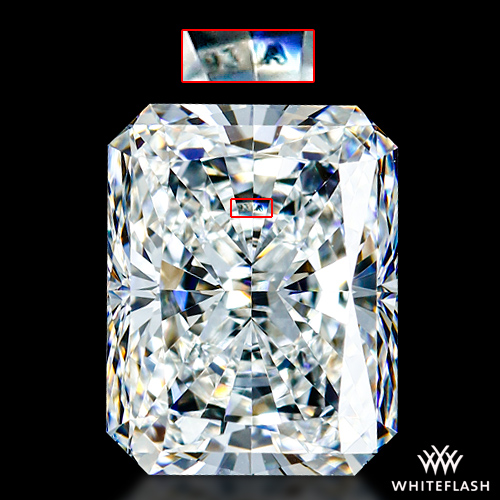
Because diamonds are highly reflective, a single inclusion (like a dark crystal) in the pavilion can bounce off internal facets, creating multiple reflections across the crown.
- Never plot reflections. Plotting reflections misidentifies the stone and artificially lowers the clarity grade.
- Trace to the source: When you see a reflection (which shifts or disappears as you tilt the stone), use darkfield illumination to trace it back to the physical inclusion.
- Plot physical reality: Plot only the physical inclusion exactly where it resides (e.g., on the pavilion view), leaving the view of the reflection (e.g., the crown view) completely blank.
5. Appraising Mounted Diamonds
Evaluating diamonds set in jewelry completely changes the plotting approach. You cannot grade what you cannot see.
"Graded As Mounting Permits"
This legal and professional disclaimer is mandatory for any mounted diamond appraisal.
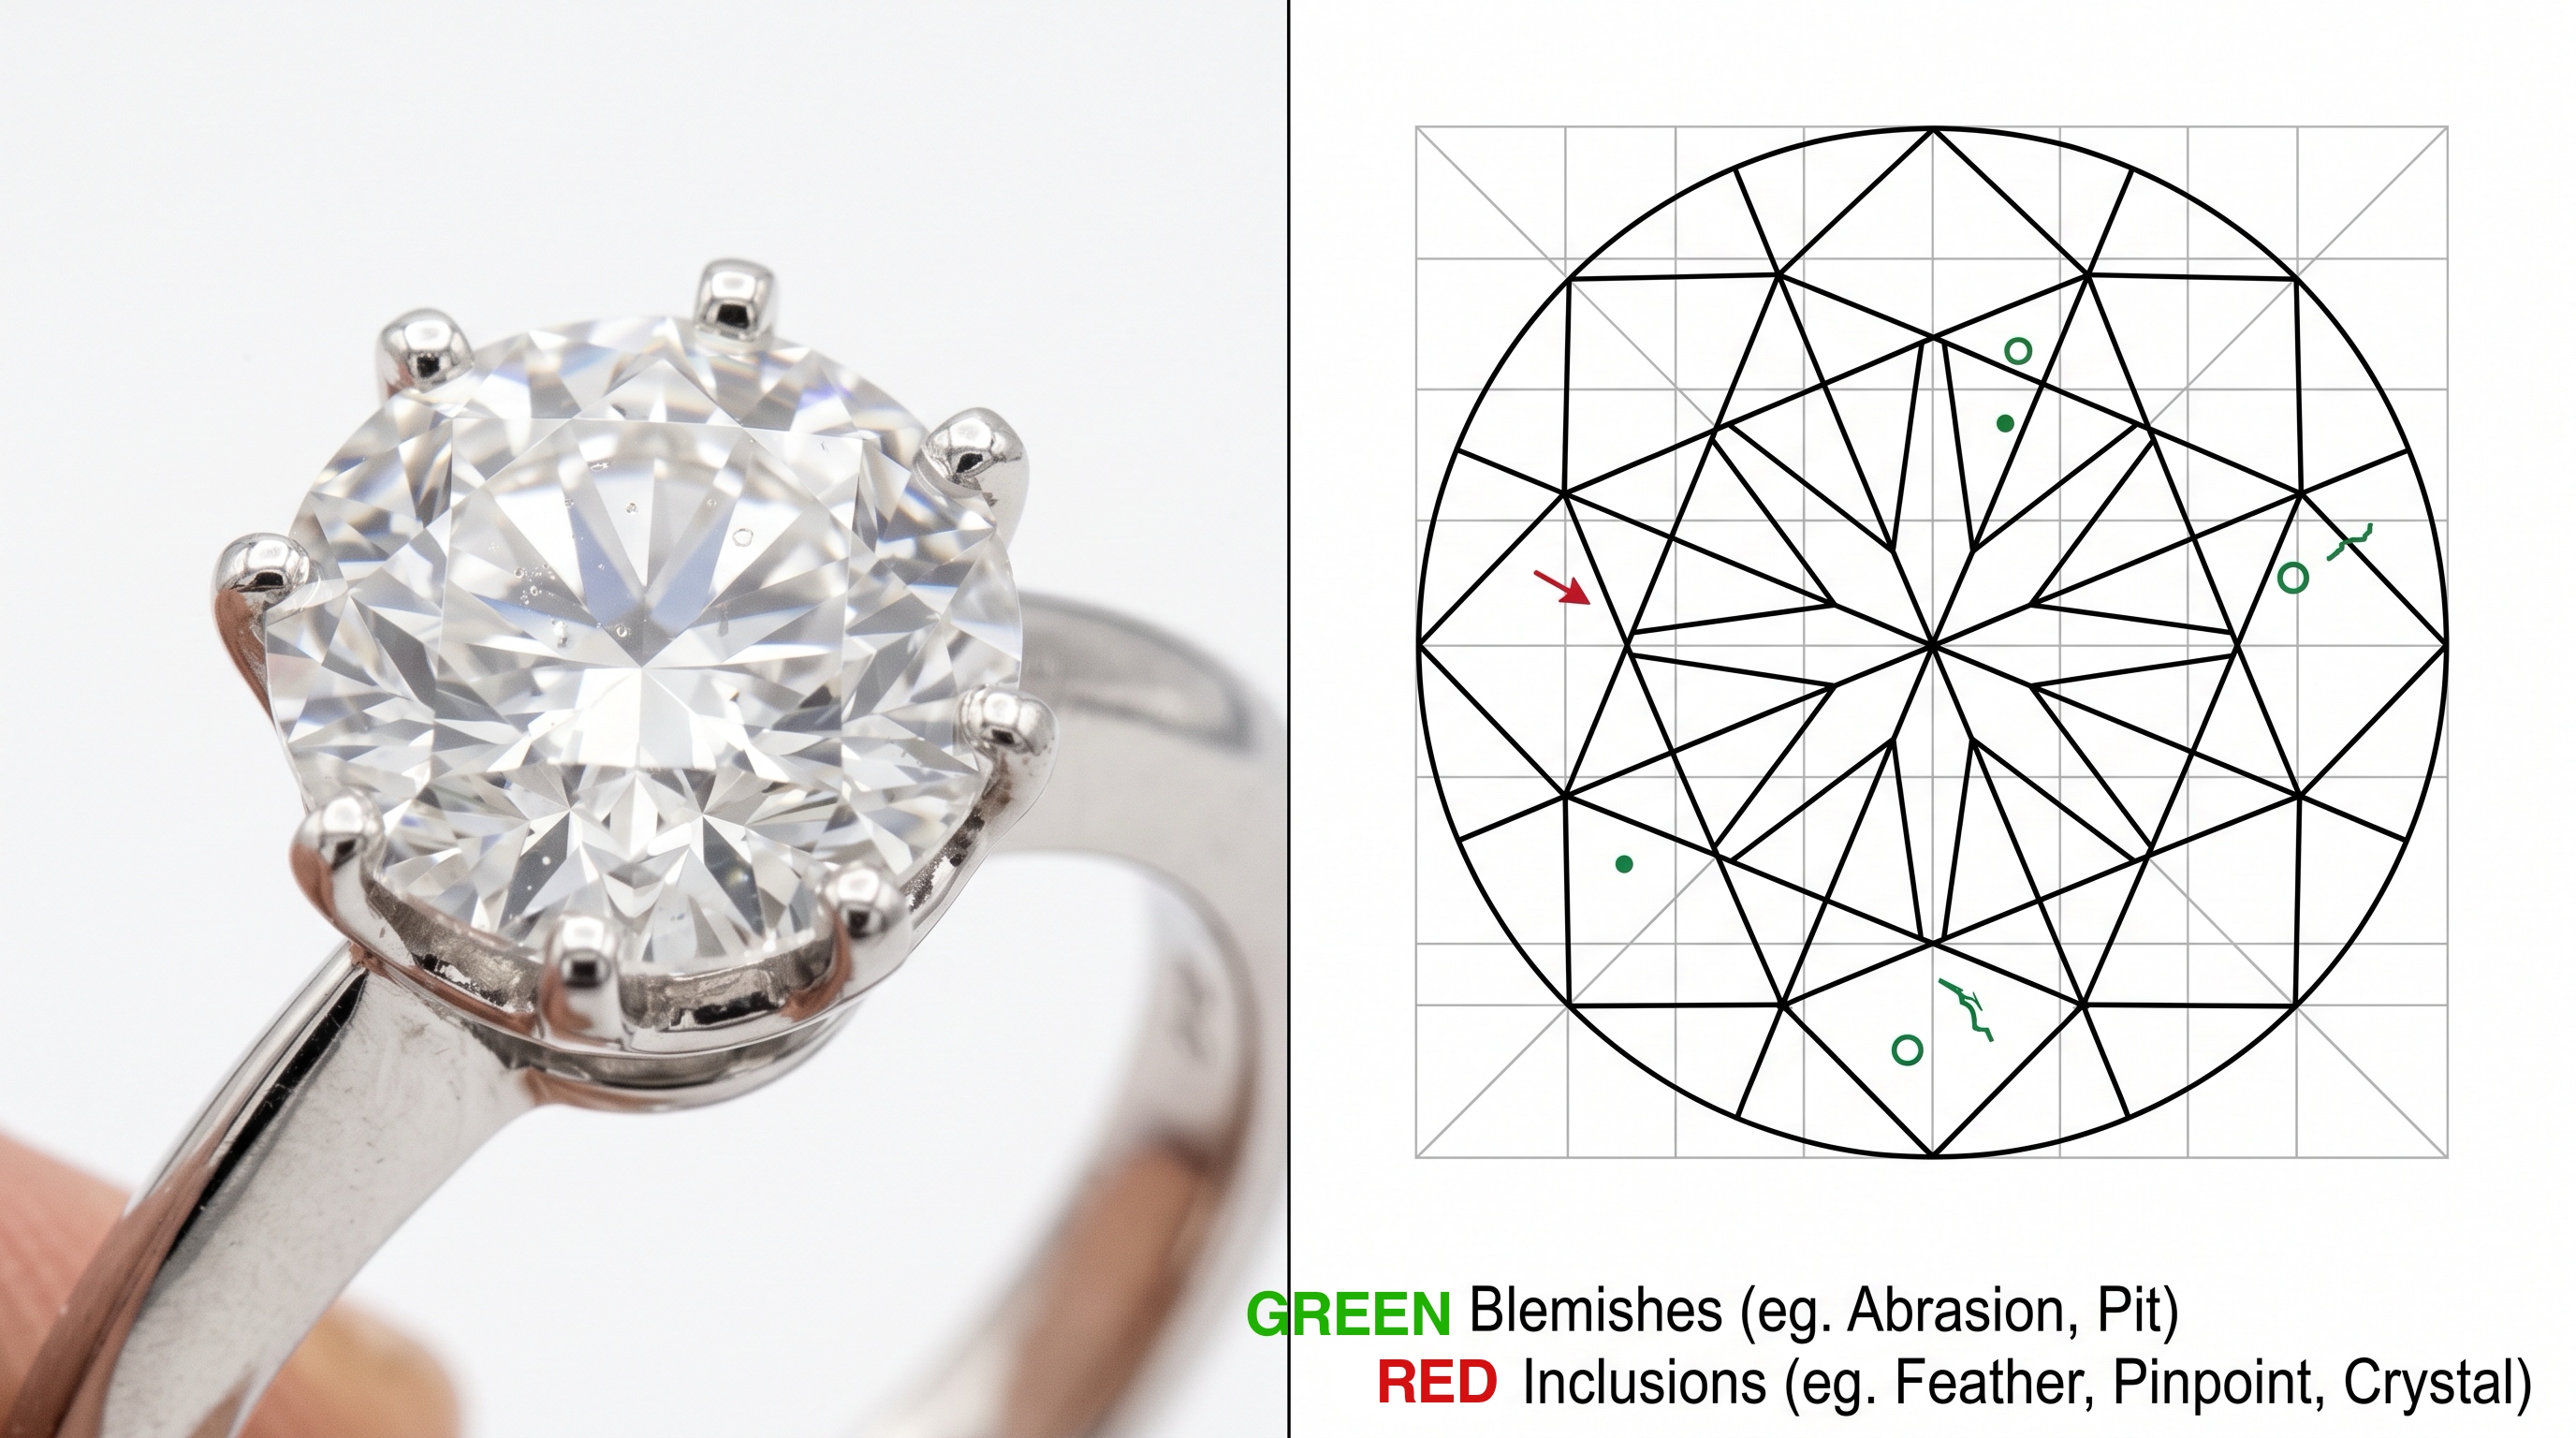
- Prong Settings: You must look between the prongs and plot visible characteristics on both the crown and pavilion.
- Bezel Settings: If the metal completely encases the pavilion, only the crown diagram is used. The pavilion diagram remains blank.
- Clarity Ranges: Because mountings hide inclusions (jewelers often set prongs directly over cavities or dark crystals), appraisers assign a two-grade clarity range (e.g., VS1 - VS2) rather than a single definitive grade.
SPECIAL HIGHLIGHT: When to Unmount a Diamond
Do not guess what is under the metal. If an exact, definitive grade is critical to the diamond's valuation, the gemologist must halt the appraisal and recommend unmounting.
Require unmounting when:
- Suspected Flawless/Internally Flawless: You cannot assign a Flawless grade to a mounted diamond, as a tiny blemish or chip could be hidden under a prong.
-
High-Value Stones: For very large or high-color diamonds, a single clarity grade difference (e.g., VVS1 vs. VVS2) can mean a difference of thousands of dollars.
Action: Require the client to have the diamond safely removed by a professional bench jeweler. Once loose, the stone can be fully plotted, accurately graded, and formally appraised.